Firebase Cloud Firestore Android Studio

Hey cod3re’s today in this example we will learn about firebase cloud firestore

What is Firebase.

firebase is a set of tools for development by google and offers variety of other feature to improve performance and speed as well as some other essential tools for building a production level app.

Firebase has 3 different  plan’s and one of them is free with some basic features.

Link’s

subscribe=>


So without wasting your time let’s get straight into it..

Tutorial level

Rating: 2 out of 5.

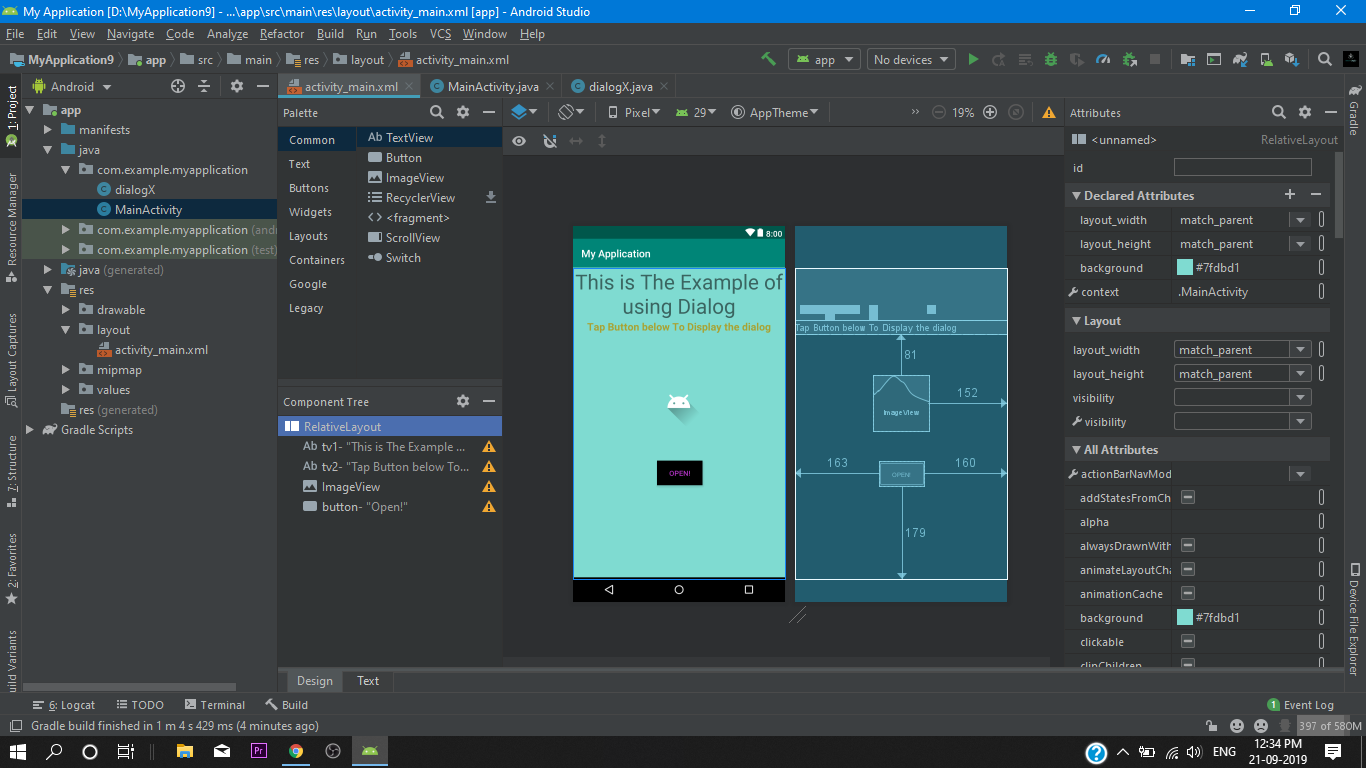
To Add Firebase into your project you need to connect firebase assistant to your project for that you need to to go into tool>firebase open assistant and find firestore after select firebase cloud firestore click into connect your app option and then follow along after adding all the necessary implication we will add two edittext into our Main Activity.xml

make sure to set the layout to linearlayout then add a button into .Xml assign all widgets to there corresponding id’s

MainActivity.xml

<?xml version="1.0" encoding="utf-8"?>
<LinearLayout xmlns:android="http://schemas.android.com/apk/res/android"
    xmlns:app="http://schemas.android.com/apk/res-auto"
    xmlns:tools="http://schemas.android.com/tools"
    android:layout_width="match_parent"
    android:layout_height="match_parent"
    android:orientation="vertical"
    android:padding="16dp"
    tools:context=".MainActivity">

    <EditText
        android:id="@+id/name_editText"
        android:layout_width="match_parent"
        android:layout_height="wrap_content"
        android:hint="Enter name"
        android:inputType="text"
        />

    <EditText
        android:id="@+id/pass_editText"
        android:layout_width="match_parent"
        android:layout_height="wrap_content"
        android:hint="Enter Password"
        android:inputType="number"
        />
    <Button
        android:id="@+id/save_button"
        android:layout_width="wrap_content"
        android:layout_height="wrap_content"
        android:text="Save DAta"
        android:onClick="saveNote"
        android:layout_gravity="center_horizontal"
        />


</LinearLayout>

after completing our mainactivity.xml we will jump into our MainActivity.java file.

MainActivity.java

package com.anon3mity.firebaseexample;

import androidx.annotation.NonNull;
import androidx.appcompat.app.AppCompatActivity;

import android.os.Bundle;
import android.util.Log;
import android.view.View;
import android.widget.EditText;
import android.widget.Toast;

import com.google.android.gms.tasks.OnFailureListener;
import com.google.android.gms.tasks.OnSuccessListener;
import com.google.firebase.firestore.FirebaseFirestore;

import java.util.HashMap;
import java.util.Map;

public class MainActivity extends AppCompatActivity {

    private static final String TAG = "MainActivity";
    private static final String KEY_NAME ="name";
    private static final String KEY_PASSWORD ="pass";

    private EditText editTextname;
    private EditText editTextpass;

    private FirebaseFirestore db = FirebaseFirestore.getInstance();

    @Override
    protected void onCreate(Bundle savedInstanceState) {
        super.onCreate(savedInstanceState);
        setContentView(R.layout.activity_main);

        editTextname =(EditText)findViewById(R.id.name_editText);
        editTextpass =(EditText)findViewById(R.id.pass_editText);

    }

    public void saveNote(View v){
        String name = editTextname.getText().toString();
        String pass = editTextpass.getText().toString();

        Map<String, Object> note = new HashMap<>();
        note.put(KEY_NAME, name);
        note.put(KEY_PASSWORD, pass);

        db.collection("Notebook").document("My First Note").set(note)
                .addOnSuccessListener(new OnSuccessListener<Void>() {
                    @Override
                    public void onSuccess(Void aVoid) {
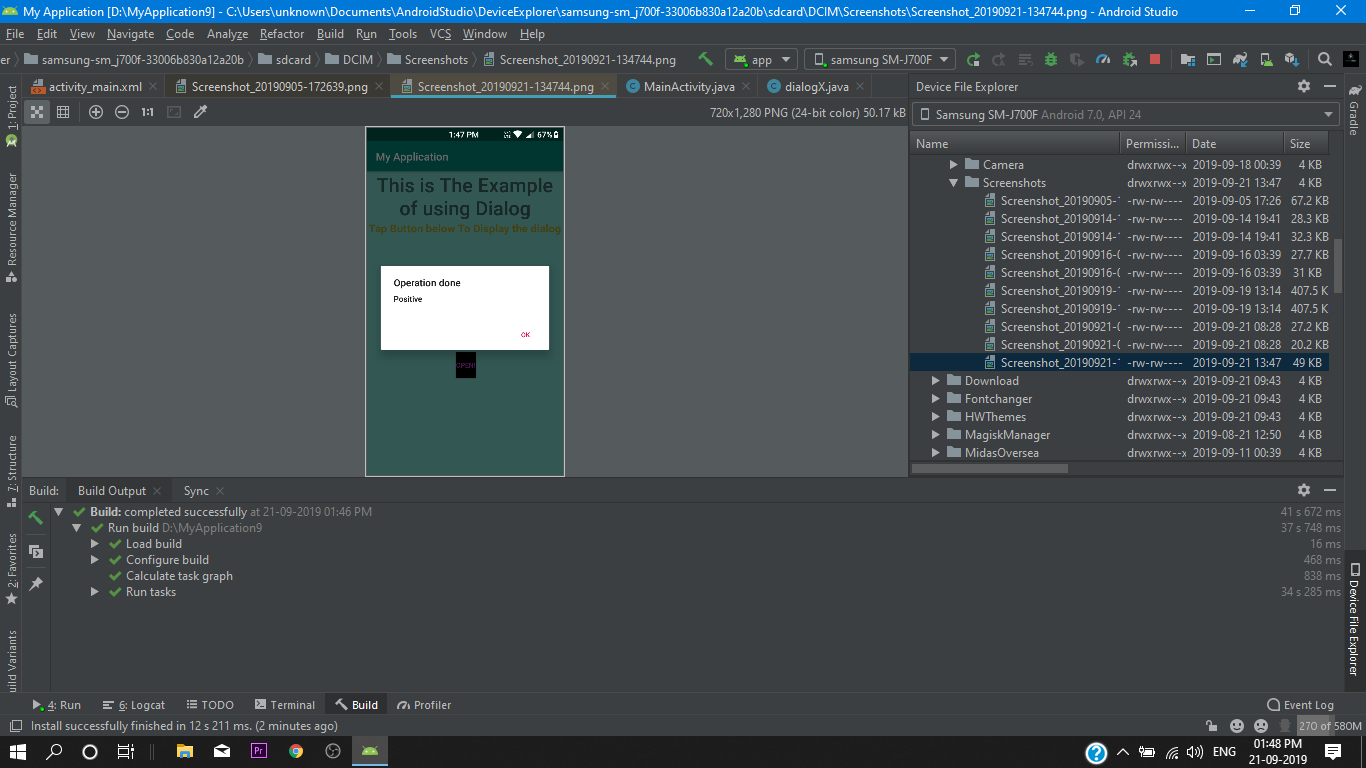
                            Toast.makeText(MainActivity.this,"success data passed",Toast.LENGTH_LONG).show();
                    }
                })
                .addOnFailureListener(new OnFailureListener() {
                    @Override
                    public void onFailure(@NonNull Exception e) {
                        Toast.makeText(MainActivity.this,"error!",Toast.LENGTH_LONG).show();
                        Log.d(TAG,e.toString());

                    }
                });


    }
}

Firebase save our data into a form of collection and each collection’s contain other collection’s and we can pass our data in firebase throw android studio using the firebase auth class and firebase accept data in a tag and value format so for that we have to create HashMap<> for our data as you can see in above code.

that’s all for today cod3r’s i hope you understand how to use firebase firestore. and if you have any query about this example make sure to hit a comment..

Dialogue Box Android Studio

hello Cod3r’s Today you will learn about how to add dialog in android studio .

what you will learn in this tutorial

how to add dialog in app projectAlertDialog.Builder builder
how to use java class in appAppCompatDialogFragment
TUTORIAL LEVEL

Rating: 2 out of 5.

MAIN ACTIVITY.XML

so first of all we set a button for the dialog box then we arrange all the widgets into our relative layout then we assign all widgets to there corresponding id’s.

<?xml version="1.0" encoding="utf-8"?>
<RelativeLayout xmlns:android="http://schemas.android.com/apk/res/android"
    xmlns:app="http://schemas.android.com/apk/res-auto"
    xmlns:tools="http://schemas.android.com/tools"
    android:layout_width="match_parent"
    android:layout_height="match_parent"
    tools:context=".MainActivity"
    android:background="#7fdbd1"
    >


    <TextView
        android:id="@+id/tv1"
        android:layout_width="match_parent"
        android:layout_height="wrap_content"
        android:text="This is The Example of using Dialog"
        android:textSize="40sp"
        android:gravity="center_horizontal"
        />

    <TextView
        android:id="@+id/tv2"
        android:layout_below="@+id/tv1"
        android:layout_width="match_parent"
        android:layout_height="wrap_content"
        android:gravity="center_horizontal"
        android:textStyle="bold"
        android:textColor="#a8a232"
        android:text="Tap Button below To Display the dialog"
        android:textSize="20dp" />

    <ImageView
        android:layout_width="wrap_content"
        android:layout_height="wrap_content"
        android:layout_below="@+id/tv2"
        android:layout_alignParentEnd="true"
        android:layout_alignParentRight="true"
        android:layout_marginTop="81dp"
        android:layout_marginEnd="152dp"
        android:layout_marginRight="152dp"
        android:foregroundGravity="center_horizontal"
        android:src="@drawable/ic_launcher_foreground" />

    <Button
        android:id="@+id/button"
        android:layout_width="wrap_content"
        android:layout_height="wrap_content"
        android:layout_alignParentStart="true"
        android:layout_alignParentLeft="true"
        android:layout_alignParentEnd="true"
        android:layout_alignParentRight="true"
        android:layout_alignParentBottom="true"
        android:layout_marginStart="163dp"
        android:layout_marginLeft="163dp"
        android:layout_marginEnd="160dp"
        android:layout_marginRight="160dp"
        android:layout_marginBottom="179dp"
        android:background="#000000"
        android:text="Open!"
        android:textColor="#b634c9"
        app:layout_constraintBottom_toBottomOf="parent"
        app:layout_constraintLeft_toLeftOf="parent"
        app:layout_constraintRight_toRightOf="parent"
        app:layout_constraintTop_toTopOf="parent" />

</RelativeLayout>

main activity.java

Here we declare are button in the main activity then we set onclick listener’s to them after setting onclick method’s we will create are method opration() {

Then we add a java class for our dialog.

package com.example.myapplication;

import androidx.appcompat.app.AppCompatActivity;

import android.os.Bundle;
import android.view.View;
import android.widget.Button;

public class MainActivity extends AppCompatActivity {

    private Button button;
    //we declare are button


    @Override
    protected void onCreate(Bundle savedInstanceState) {
        super.onCreate(savedInstanceState);
        setContentView(R.layout.activity_main);

  //we initialize are button and set a on click listener
        button=(Button)findViewById(R.id.button);
        button.setOnClickListener(new View.OnClickListener() {
            @Override
            public void onClick(View view) {
                opration();
            }
        });
    }
// in main activity we create are method opration() for that we add a java class

    public void opration() {
        dialogX dialogX = new dialogX();
        dialogX.show(getSupportFragmentManager(),"dialogX");


    }
}

DIALOG.JAVA

Finally in dialog.java file we override our oncreate method with Dialog onCreateDialog method and then with the help of AlertDialog.Builder we define are dialog box As you can see below at the code.

package com.example.myapplication;

import android.app.AlertDialog;
import android.app.Dialog;
import android.content.DialogInterface;
import android.os.Bundle;
import android.view.View;

import androidx.appcompat.app.AppCompatDialogFragment;

public class dialogX extends AppCompatDialogFragment {

    // we override our on click method with on create dialog
    @Override
    public Dialog onCreateDialog(Bundle savedInstanceState) {

        //create function here
        AlertDialog.Builder builder= new AlertDialog.Builder(getActivity());
        builder.setTitle("Operation done")
                .setMessage("Positive")
                .setPositiveButton("Ok", new DialogInterface.OnClickListener() {
                    @Override
                    public void onClick(DialogInterface dialogInterface, int i) {

                    }
                });
        //we return our function
     return builder.create();
    }
}

So That’s it For Today Cod3r’s

i hope you like this tutorial and after this you can use this method to implement this method for you app. its a cool thing right ! so subscribe for more resources and upcoming tutorial’s cause i will keep on posting for you all Cod3r’s

….

Click Button Change Activity

  • in this post you will learn how use OnClickListner in your .java project in Android studio
  • and open an activity with that button using OnClickListner method

Hello Coder’s welcome to my first post

this project will look something like this

Second Activity

so As you can see above guys i have created a app example of the onclicklistner method So Lets quickly get to the Tutorial.

Tutorial level

Rating: 1 out of 5.

Main Activity.Xml

<?xml version="1.0" encoding="utf-8"?>
<androidx.constraintlayout.widget.ConstraintLayout xmlns:android="http://schemas.android.com/apk/res/android"
    xmlns:app="http://schemas.android.com/apk/res-auto"
    xmlns:tools="http://schemas.android.com/tools"
    android:layout_width="match_parent"
    android:layout_height="match_parent"
    tools:context=".MainActivity"
    android:background="@android:color/holo_blue_bright">

    <TextView
        android:id="@+id/tv1"
        android:layout_width="wrap_content"
        android:layout_height="wrap_content"
        android:layout_alignParentStart="true"
        android:layout_alignParentLeft="true"
        android:layout_alignParentTop="true"
        android:layout_alignParentEnd="true"
        android:layout_alignParentRight="true"
        android:layout_alignParentBottom="true"
        android:gravity="center_horizontal"
        android:shadowColor="#000A0505"
        android:text="Hello Coder's"
        android:textSize="40sp"
        app:layout_constraintBottom_toBottomOf="parent"
        app:layout_constraintEnd_toEndOf="parent"
        app:layout_constraintHorizontal_bias="0.431"
        app:layout_constraintStart_toStartOf="parent"
        app:layout_constraintTop_toTopOf="parent"
        app:layout_constraintVertical_bias="0.123" />

    <TextView
        android:id="@+id/tv2"
        android:layout_width="wrap_content"
        android:layout_height="wrap_content"
        android:text="this is activity 1"
        android:textSize="20sp"
        app:layout_constraintBottom_toBottomOf="parent"
        app:layout_constraintEnd_toEndOf="parent"
        app:layout_constraintHorizontal_bias="0.0"
        app:layout_constraintStart_toStartOf="@+id/tv1"
        app:layout_constraintTop_toBottomOf="@+id/tv1"
        app:layout_constraintVertical_bias="0.288" />

    <Button
        android:id="@+id/btn"
        android:layout_width="wrap_content"
        android:layout_height="wrap_content"
        android:background="#3F51B5"
        android:text="second Activity"
        app:layout_constraintBottom_toBottomOf="parent"
        app:layout_constraintEnd_toEndOf="@+id/tv2"
        app:layout_constraintHorizontal_bias="0.498"
        app:layout_constraintStart_toStartOf="parent"
        app:layout_constraintTop_toBottomOf="@+id/tv2"
        app:layout_constraintVertical_bias="0.565" />
</androidx.constraintlayout.widget.ConstraintLayout>

Second Activity.Xml

<?xml version="1.0" encoding="utf-8"?>
<androidx.constraintlayout.widget.ConstraintLayout xmlns:android="http://schemas.android.com/apk/res/android"
    xmlns:app="http://schemas.android.com/apk/res-auto"
    xmlns:tools="http://schemas.android.com/tools"
    android:layout_width="match_parent"
    android:layout_height="match_parent"
    android:background="#090505"
    tools:context=".second_activity">

    <TextView
        android:id="@+id/tv"
        android:layout_width="wrap_content"
        android:layout_height="wrap_content"
        android:layout_marginStart="155dp"
        android:layout_marginLeft="155dp"
        android:layout_marginTop="165dp"
        android:layout_marginEnd="115dp"
        android:layout_marginRight="115dp"
        android:layout_marginBottom="419dp"
        android:background="#4CAF50"
        android:text="This is second activity!"
        android:textSize="40dp"
        app:layout_constraintBottom_toBottomOf="parent"
        app:layout_constraintEnd_toEndOf="parent"
        app:layout_constraintHorizontal_bias="0.581"
        app:layout_constraintStart_toStartOf="parent"
        app:layout_constraintTop_toTopOf="parent"
        app:layout_constraintVertical_bias="0.514" />

    <TextView
        android:id="@+id/textView"
        android:layout_width="wrap_content"
        android:layout_height="wrap_content"
        android:layout_marginTop="60dp"
        android:layout_marginBottom="68dp"
        android:background="#4CAF50"
        android:text="Hello Coders"
        android:textSize="35sp"
        app:layout_constraintBottom_toTopOf="@+id/tv"
        app:layout_constraintEnd_toEndOf="parent"
        app:layout_constraintStart_toStartOf="parent"
        app:layout_constraintTop_toTopOf="parent" />
</androidx.constraintlayout.widget.ConstraintLayout>

Main Activity.Java

package com.example.myapplication;

import androidx.appcompat.app.AppCompatActivity;

import android.content.Intent;
import android.os.Bundle;
import android.view.View;
import android.widget.Button;
import android.widget.TextView;

public class MainActivity extends AppCompatActivity {
   //define variable here//

    private TextView txt1,txt2;

    private Button button;
   /* we have two variable here as yo can see above
   1.TextView as txt1 and txt2
   2.Button as button*/

    @Override
    protected void onCreate(Bundle savedInstanceState) {
        super.onCreate(savedInstanceState);
        setContentView(R.layout.activity_main);
      /*then we have to associate the corresponding id's
         to xml and java as you can see below*/


        txt1=(TextView)findViewById(R.id.tv1);
        txt2=(TextView)findViewById(R.id.tv2);
        button=(Button)findViewById(R.id.btn);

         //then we will ad a onClickListener to our button//

        button.setOnClickListener(new View.OnClickListener() {
            @Override
            public void onClick(View view) {
                OpenSecond();
            }
        });

    }
    //we will create a method called  open second ();//

    public void OpenSecond(){
        Intent intent=new Intent(this,second_activity.class);
        startActivity(intent);
    }
}
       //this is the End of Main Activity//

second Activity.Java

package com.example.myapplication;

import androidx.appcompat.app.AppCompatActivity;

import android.os.Bundle;

public class second_activity extends AppCompatActivity {

    @Override
    protected void onCreate(Bundle savedInstanceState) {
        super.onCreate(savedInstanceState);
        setContentView(R.layout.second_activity);
    }
}
   //That's is for Today's Tutorial Subscribe For more coding tips like this//

So That’s All for this tutorial if you like this post make sure to hit the subsrctibe button cause i am gonna start a series of android studio